Home › Blog › Live Rock vs Dry Rock
Live Rock vs Dry Rock: Which Is Right for Your Reef Tank?
May 9, 2026 · 8 min read · By NextUpReef
This is the first major decision in every reef tank build. The rock you choose determines how fast your tank cycles, what pests you might fight for years, how easy your aquascape is to build, and how much you spend in the first month. Get it right and your tank starts smoothly. Get it wrong and you'll be removing aiptasia from your acros for the next three years.
This guide breaks down live rock vs dry rock honestly — including which one is genuinely better for most readers, and the hybrid approach that combines the best of both.
What Each Type Actually Is
Live rock is rock harvested from the ocean (typically wild-caught from Fiji, Indonesia, or the Caribbean, though wild harvest is largely banned now) or aquacultured (grown in ocean-based farms in Florida, the Gulf, or Indonesia). Live rock arrives covered in beneficial bacteria, coralline algae, sponges, copepods, amphipods, worms, and an entire microscopic ecosystem.
Dry rock is sterile rock used to start a tank from scratch. Most dry rock is one of:
- Mined limestone: Fossilized ancient reef. CaribSea South Seas Base Rock is a common brand.
- Pukani / Tonga branch dry: Wild-collected rock that's been dried out for shipping. Still porous and interesting shapes.
- Aquacultured then dried: Marco Rocks. Manufactured for the hobby.
- Real Reef Rock: Manmade rock that mimics reef shapes. Lightweight, sustainable.
The Honest Pros and Cons
Live Rock Pros:
- Tank cycles fast — sometimes in 1 to 2 weeks instead of 4 to 6
- Built-in beneficial bacteria, sponges, and microfauna
- Coralline algae already growing
- Copepods and amphipods for natural pod populations
- Real coral skeleton structure with natural shapes
- Adds biodiversity that's hard to replicate from scratch
Live Rock Cons:
- Hitchhiker pests — aiptasia, vermetid snails, mantis shrimp, predatory crabs, bristleworms, flatworms, bryopsis spores
- Significantly more expensive ($6 to $14 per pound vs $1 to $4 for dry)
- Must stay wet during transport — dies during shipping if not packed correctly
- Can leach nutrients (phosphate, nitrate) from die-off during transport
- Shapes already determined — limited aquascaping freedom
- Often heavy and dense, making rockwork awkward
- Wild collection has environmental impact
Dry Rock Pros:
- Zero pest risk — sterile by definition
- Cheap — $1 to $4 per pound vs $6 to $14
- Lightweight and easy to handle
- Unlimited aquascape options — build any structure you want
- No die-off, no smelly bacterial bloom
- Easy to find online from big retailers (BRS, Marco Rocks, CaribSea)
- Becomes "live rock" over 12 months as it colonizes naturally
- Eco-friendly options available (Real Reef, aquacultured)
Dry Rock Cons:
- Longer cycle — 4 to 6 weeks before livestock can go in
- Bare and white for the first 3 to 6 months until coralline grows
- Some brands leach phosphate for months (especially older bare-bones Marco)
- Need to seed bacteria separately (bottled or piece of live rock)
- No natural microfauna — must add pods later
- Mining rock has its own environmental concerns depending on source
Which Is Right for You?
Beginners (first reef tank): Dry rock, every time. Pest identification and treatment is hard for new reefers. An aiptasia outbreak in month 3 of your first tank is a brutal way to learn the hobby. Stay clean.
Intermediate reefers (1 to 3 tanks deep): Hybrid. Use 90 percent dry rock for the aquascape, plus 1 to 2 small pieces of quality live rock from a trusted local fish store. The live rock provides bacterial seed and pods without dumping in dozens of hitchhikers.
Experienced reefers (multiple successful tanks): Whatever you want. If you have the experience to identify and treat hitchhikers, the biodiversity benefit of live rock is real. Many advanced reefers love the "wild" look of a tank started with live rock and the surprises that emerge.
Quarantine-focused builds: Dry rock. Period. The whole point of a quarantine workflow is starting clean. Don't undermine it by introducing live rock with unknown hitchhikers.
How Much Rock Do You Need?
The old rule was 1 to 2 pounds per gallon, but most modern reef tanks run lighter to allow more swimming space and better flow. Current consensus:
- Sparse aquascape (recommended): 0.5 to 1 pound per gallon
- Traditional dense aquascape: 1 to 1.5 pounds per gallon
- Heavy old-school style: 1.5 to 2 pounds per gallon
Less rock means more swimming room, better flow, and easier maintenance. Most modern reef builds use sparse, dramatic aquascapes with two or three islands instead of a wall of rock against the back glass.
Treating Dry Rock Before Use
Dry rock isn't always as clean as it sounds. Wild-collected dry rock (Pukani, Tonga) often has dead organic matter trapped in the porous structure. Putting it straight in the display releases phosphate for months. The fix is a curing step:
- Bleach soak (optional but effective): Soak rock in a 1:10 bleach-to-water ratio for 24 hours. Kills all organics.
- RODI rinse: Rinse thoroughly with RODI water until no bleach smell remains.
- Sun cure: Lay rock in the sun for a few days to fully neutralize any residual bleach.
- Acid bath (optional, advanced): Submerge rock in muriatic acid (1:10) briefly to strip phosphate-leaching layers and expose fresh limestone. Wear gloves, mask, do this outside.
- Saltwater cure: Soak in saltwater with a powerhead for 1 to 4 weeks. Test ammonia and phosphate weekly. Once both stay near zero, the rock is ready.
Marco-style mined limestone usually needs only the saltwater cure. Pukani, Tonga, and any wild dry rock benefit from the full bleach process.
Quarantining Live Rock
If you do go with live rock, quarantine it before introducing to the display. Standard QT for live rock:
- Set up a bare-bottom QT tank with heater, light, and powerhead. 20 to 40 gallons is plenty.
- Place live rock in the QT for 4 to 6 weeks under normal lighting.
- Test ammonia and nitrite weekly. Any spike means die-off — do a water change.
- Observe the rock daily. Look for aiptasia, vermetids, mantis shrimp (clicking sounds), predatory crabs, flatworms, and bristleworms (some are okay, monster ones aren't).
- Treat pests as they appear. Aiptasia X for aiptasia, traps or peppermint shrimp for ongoing issues, manual removal for crabs.
- Move rock to display only after 4+ weeks of clean observation.
Most reefers skip this step. Most reefers also fight pests for years.
Aquascaping Tips
The rock you choose affects how easy aquascaping is:
- Use reef-safe putty or epoxy to join rocks into stable structures.
- PVC pillars or eggcrate base elevates rock and improves flow underneath.
- Sparse is more impressive than dense in modern reef aesthetics. Two islands separated by open sand beat a back wall of rock.
- Build outside the tank first in a similar-shaped container. Dry-fit the structure before committing in the display.
- Plan for coral. Where will frags sit? Where can SPS reach high light? Where will LPS be sheltered?
Tracking the Cycle
Whichever rock you use, the early weeks of the cycle are when log tracking pays off the most. Ammonia, nitrite, and nitrate trends tell you exactly when the cycle is complete. Guessing leads to either adding fish too early (tank crash) or waiting forever (impatience).
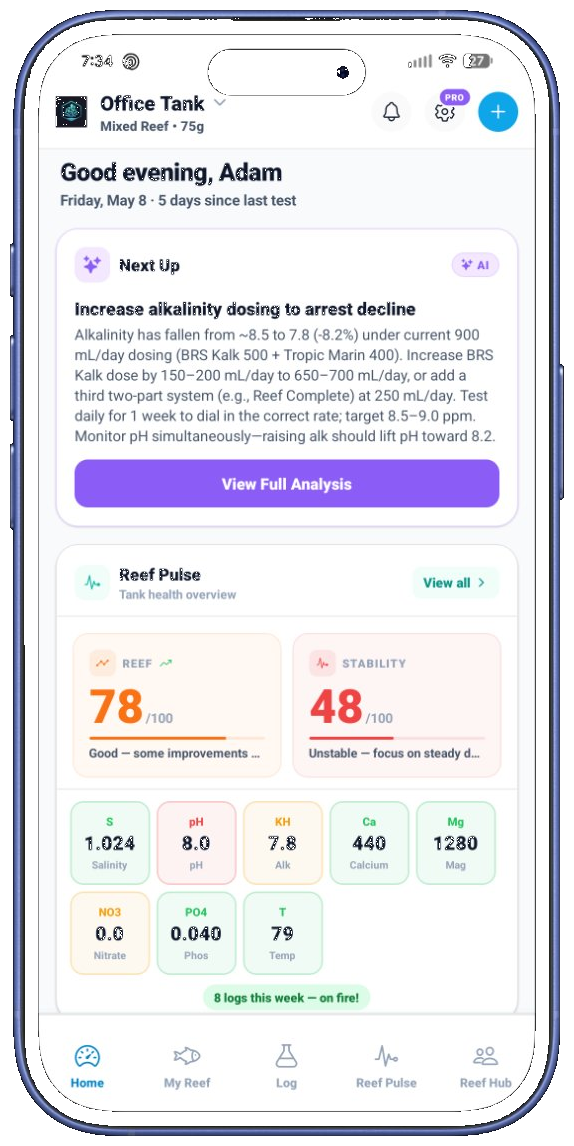
NextUpReef logs each parameter and shows the cycle progression as a chart. You can see ammonia rise, peak, then crash to zero — and nitrate climb steadily as nitrifying bacteria establish. That's the signal that the rock has gone from sterile to live. See our complete cycling guide →
Common Mistakes
- Buying live rock from chain stores. Big-box pet store live rock is usually beat up, low biodiversity, and high pest risk. Local fish store or reputable online retailer only.
- Skipping the cure on dry rock. Phosphate leaching from uncured Pukani can feed nuisance algae for 6+ months.
- Building too much rock. A wall of rock looks great in photos but creates dead zones, blocks flow, and limits coral placement.
- Not pinning the aquascape. Unsecured rock falls and breaks glass. Use epoxy or putty.
- Believing the cycle is fast on live rock. Marketing says "instant cycle." Reality: 1 to 2 weeks if the rock survived shipping intact, and you still need to test before adding livestock.
- Ignoring pest signs early. One aiptasia in week 2 is easy. Twenty aiptasia in month 6 is a project.
Final Thought
For 90 percent of readers, the answer is dry rock with a small piece of live rock for bacterial seeding. You get the affordability and pest safety of dry rock, plus the biodiversity benefit of live. The hybrid approach has become the standard build for a reason — it works.
The old days of dumping 100 pounds of wild-caught Fiji live rock into a new tank are over. Modern reef builds start clean, control nutrients, and earn biodiversity over time. Pick your rock accordingly. Read our complete tank setup guide →
Track your reef tank build from rock to coral with NextUpReef — free.
Log the cycle, photograph progress, and get phase-by-phase guidance through your first year. iOS and Android.